This help article is for an old version of Direct Mail.
Reminder: You can still send email campaigns even without enabling email authentication for your domain. In light of the upcoming Google and Yahoo changes, some customers are concerned that their campaigns will not be delivered if they do not enable email authentication. This is not the case.
If you do not wish to enable email authentication, your campaigns will still be delivered.
Direct Mail will temporarily change the From Email on your message to one ending in “@via.directmailapp.com”. The From Name on your message will not be changed, so recipients will still know it's you. Any replies to your campaign will still be sent to your email address.
To learn more about email authentication, please see this help article. To enable email authentication for your domain name, please follow the instructions below.
Prerequisites
If you haven't already, you'll need to sign up for a Direct Mail account: choose "Direct Mail > Direct Mail Account" and click "Sign Up Now".
To enable email authentication, you will need to edit some DNS records for your domain name. Editing DNS records is typically done by signing in to your DNS provider's website. If you don't know who your DNS provider is, Direct Mail can help you figure it out. In many cases it is the same company that you purchased your domain name from (e.g. GoDaddy, Namecheap, etc.).
To enable email authentication:
- Open Direct Mail
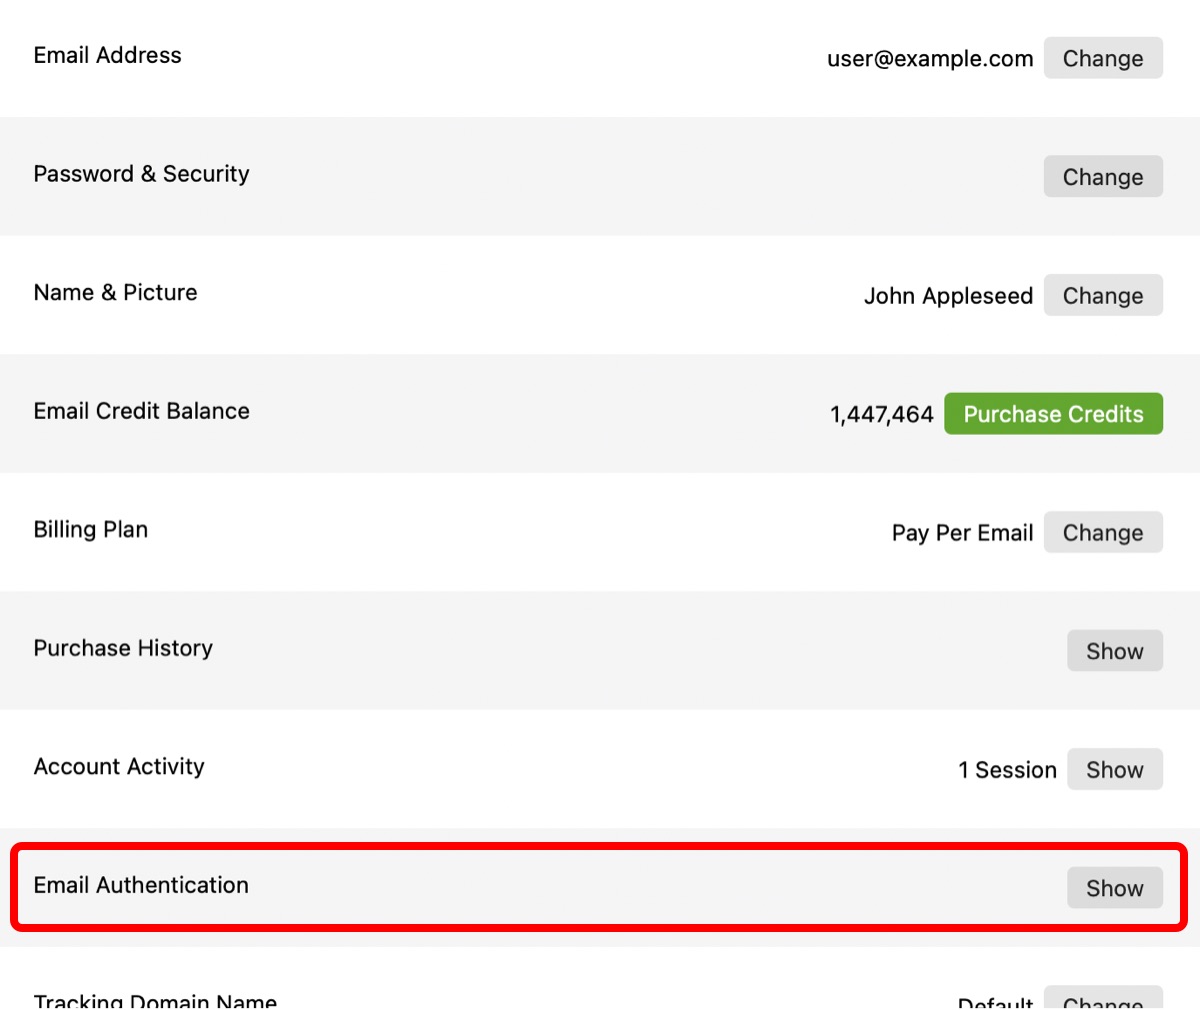
- Choose Direct Mail > Direct Mail Account from the menu bar at the top of the screen
- Scroll down to the "Email Authentication" section and click Show

- Enter the domain name you want to authenticate. For example, if your From Email address was "john.doe@mybusiness.com", you would enter "mybusiness.com"
- Click the Add New Domain button
Direct Mail will verify your domain and then show you the following information:
- If possible, who we think your DNS provider is and a link to their help documentation
- Instructions regarding one or more DNS records that you need to add or update
Sign in to your DNS provider and add or update the DNS records as instructed by Direct Mail.
Tip: If you have an I.T. person that can make these DNS changes for you, click the “Copy Help” button to copy the instructions to the clipboard. You can then paste them into a message to your I.T. professional.
After you make the changes with your DNS provider, it may take some time before Direct Mail (and the rest of the internet) notices the changes. You can keep Direct Mail open and it will refresh the status every minute. Or you can close Direct Mail and check back later. You'll know the process is complete when the status turns green and says “Authenticated"

Let us help you
We understand this kind of technology can be confusing. If you'd like us to sign in to your DNS provider and make these changes for you, we are happy to do that. Please contact our support team.