Today we’re excited to introduce Direct Mail version 8.0, a powerful update that makes it even easier to grow your business with easy-to-use email marketing.
With new integrations for Shopify, Squarespace, and Google Contacts, Direct Mail helps you bring the people and content you already work with into one place—right on your Mac. We’ve also refreshed the app icon with a beautiful new look inspired by macOS Tahoe’s Liquid Glass design language.
Sell More with Shopify and Squarespace
If you run your business on Shopify or Squarespace, Direct Mail 8.0 makes it simple to turn your store data into more effective email campaigns.
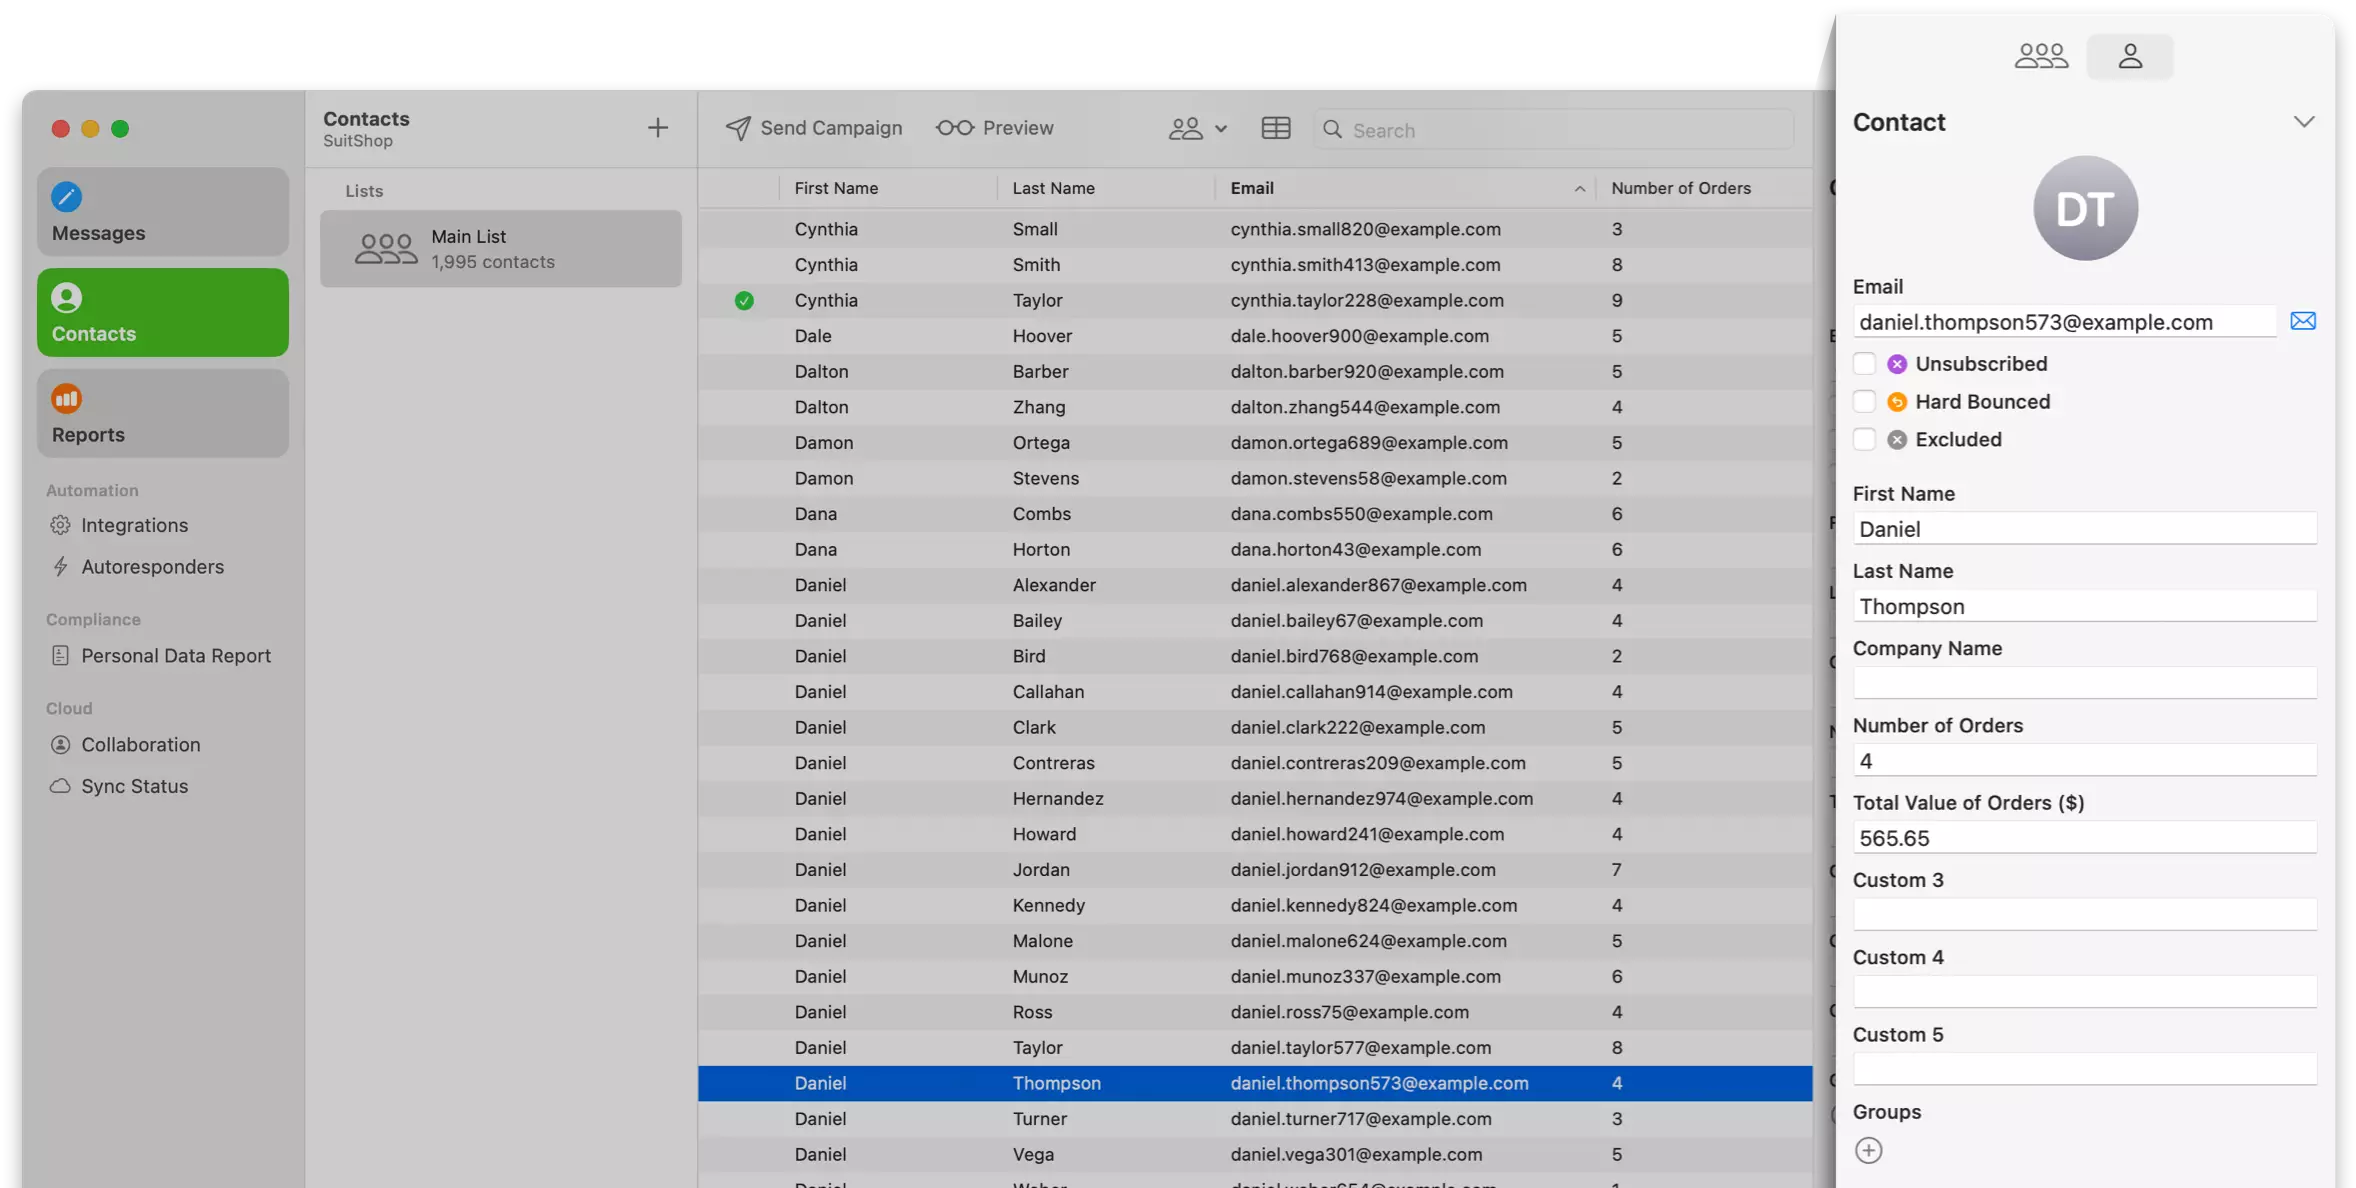
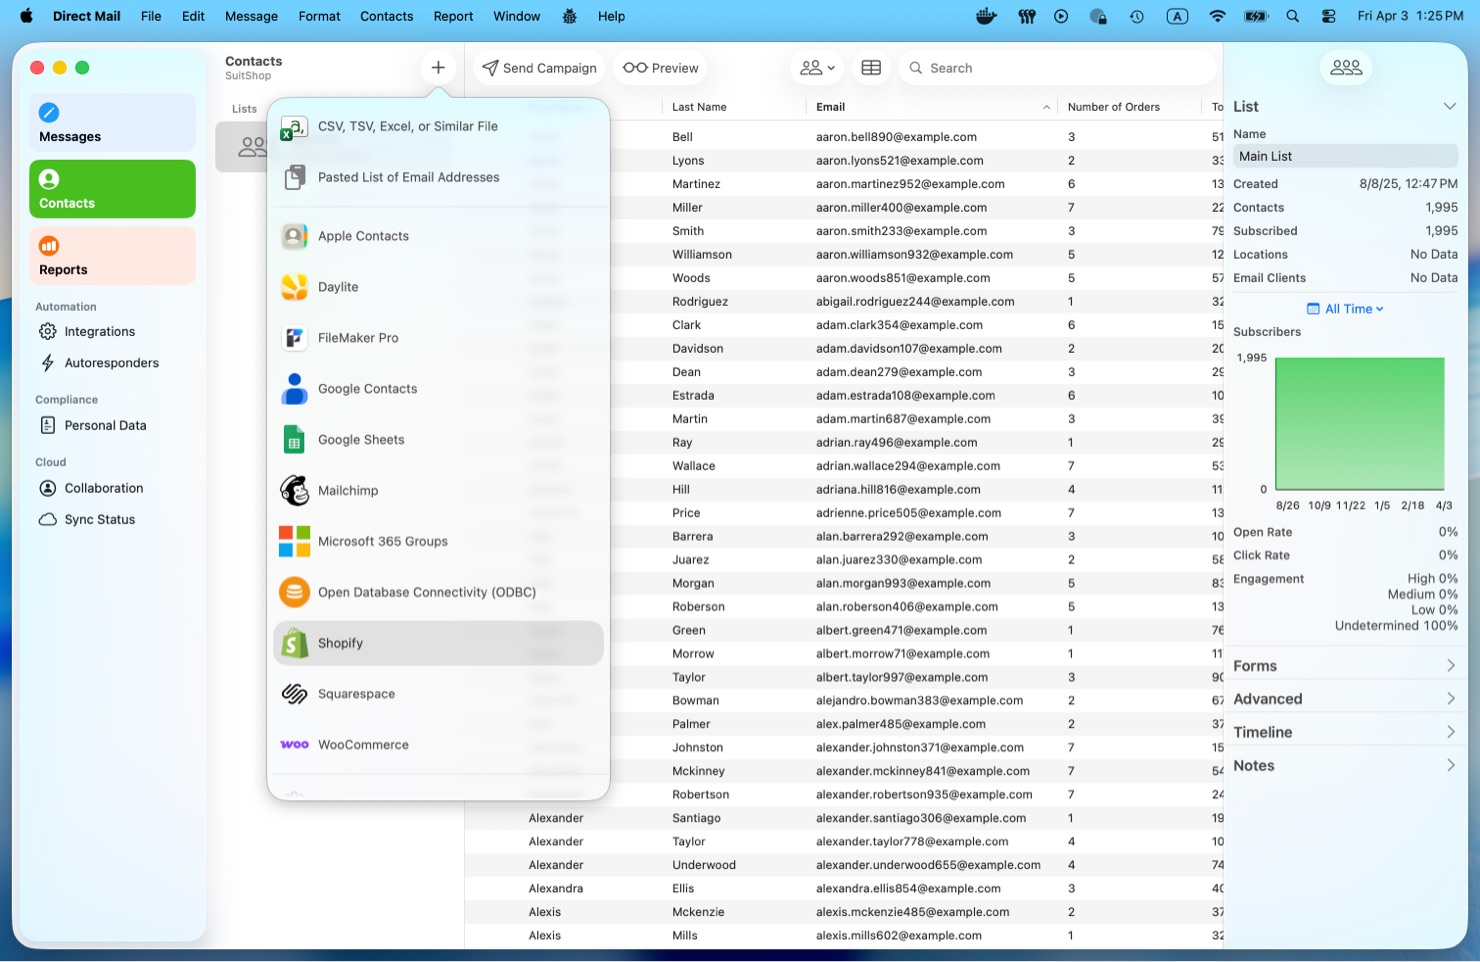
You can now import your customers—or prospective customers—directly from Shopify and Squarespace into Direct Mail. That means less time exporting spreadsheets and more time creating campaigns that actually drive results.
Want to encourage repeat purchases? Re-engage past buyers? Reach your most valuable customers with a special offer? Direct Mail gives you the tools to build focused, targeted campaigns that feel more relevant to the people receiving them.
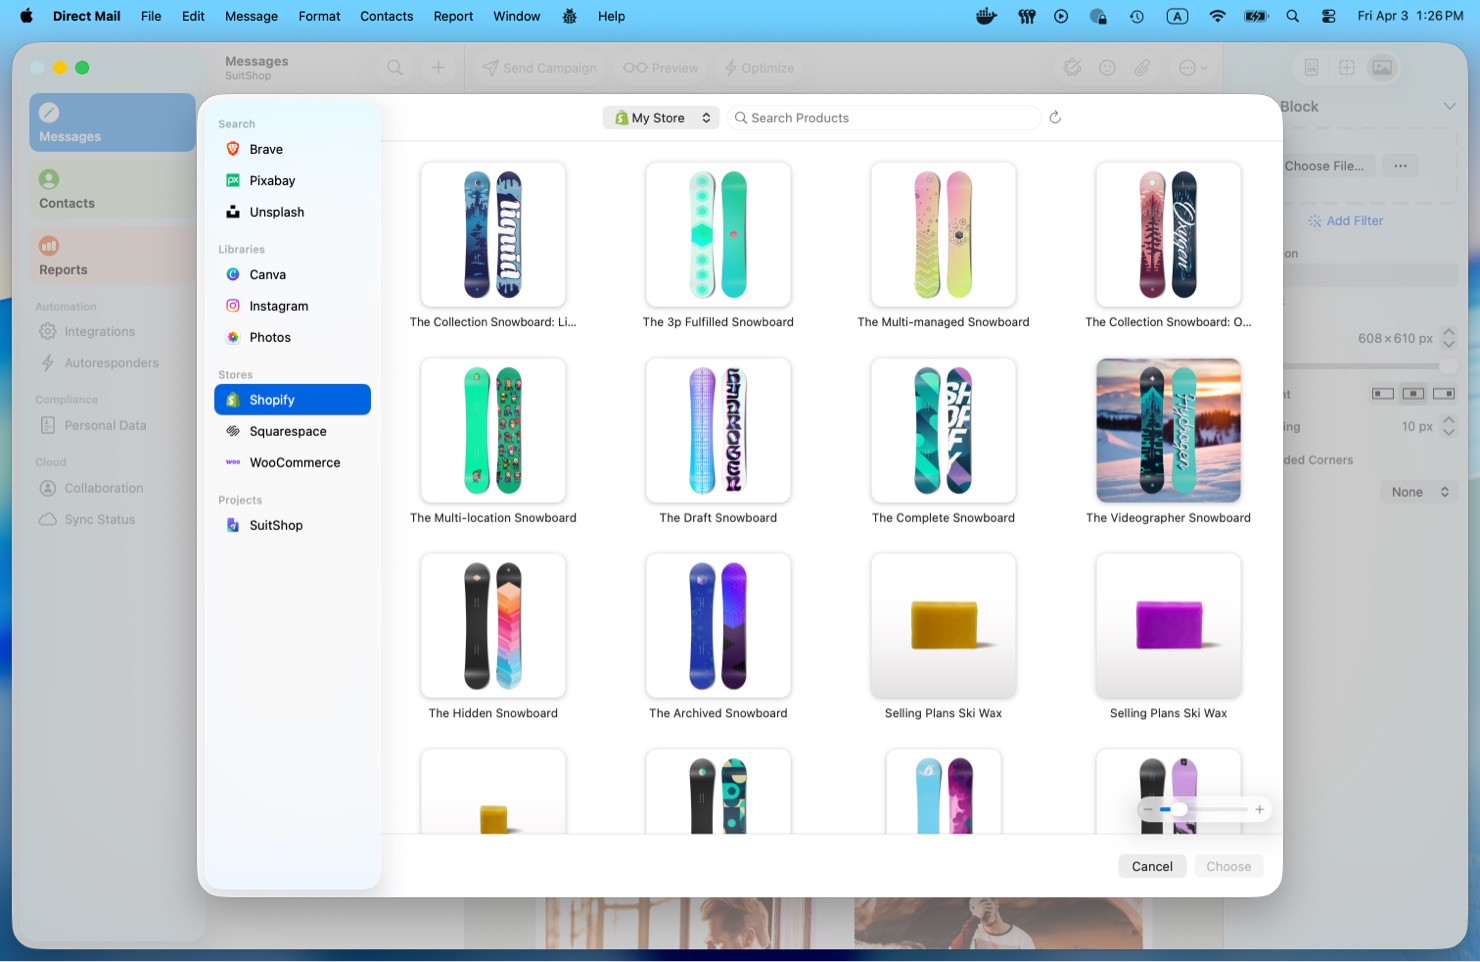
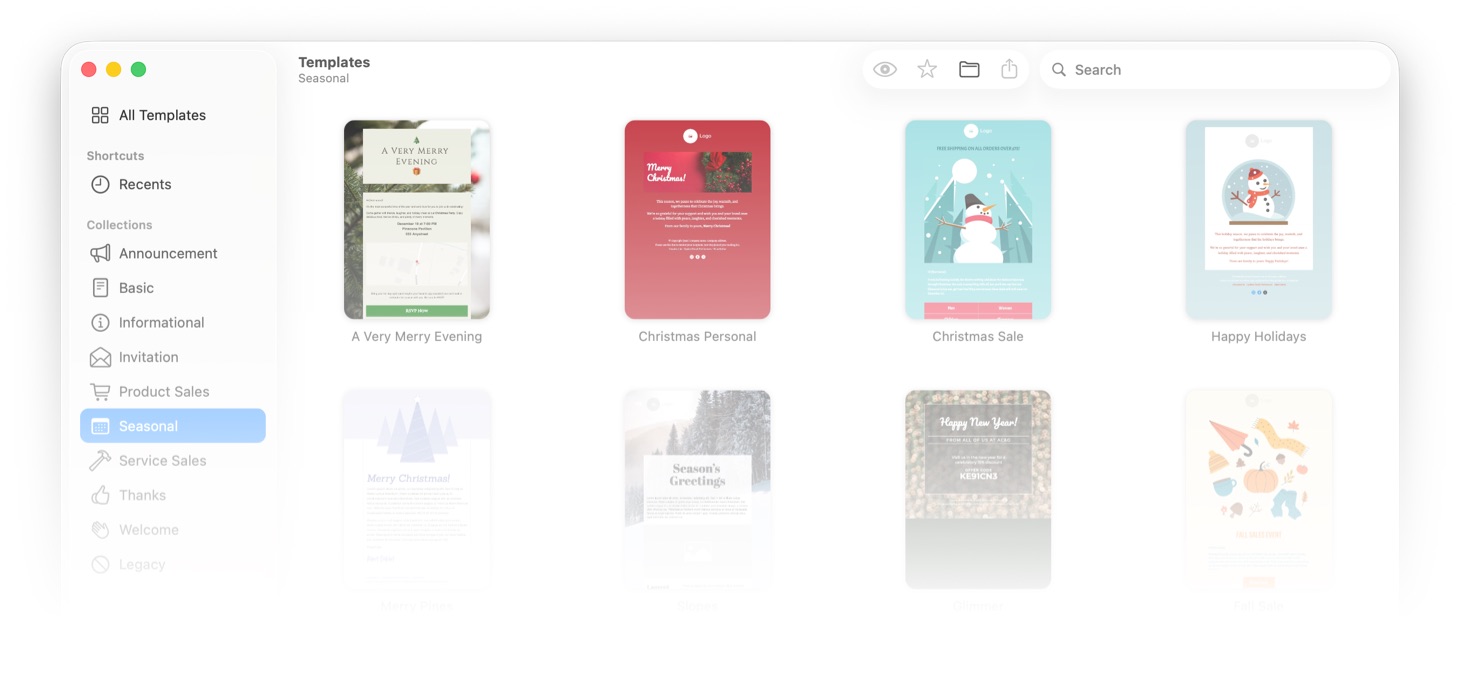
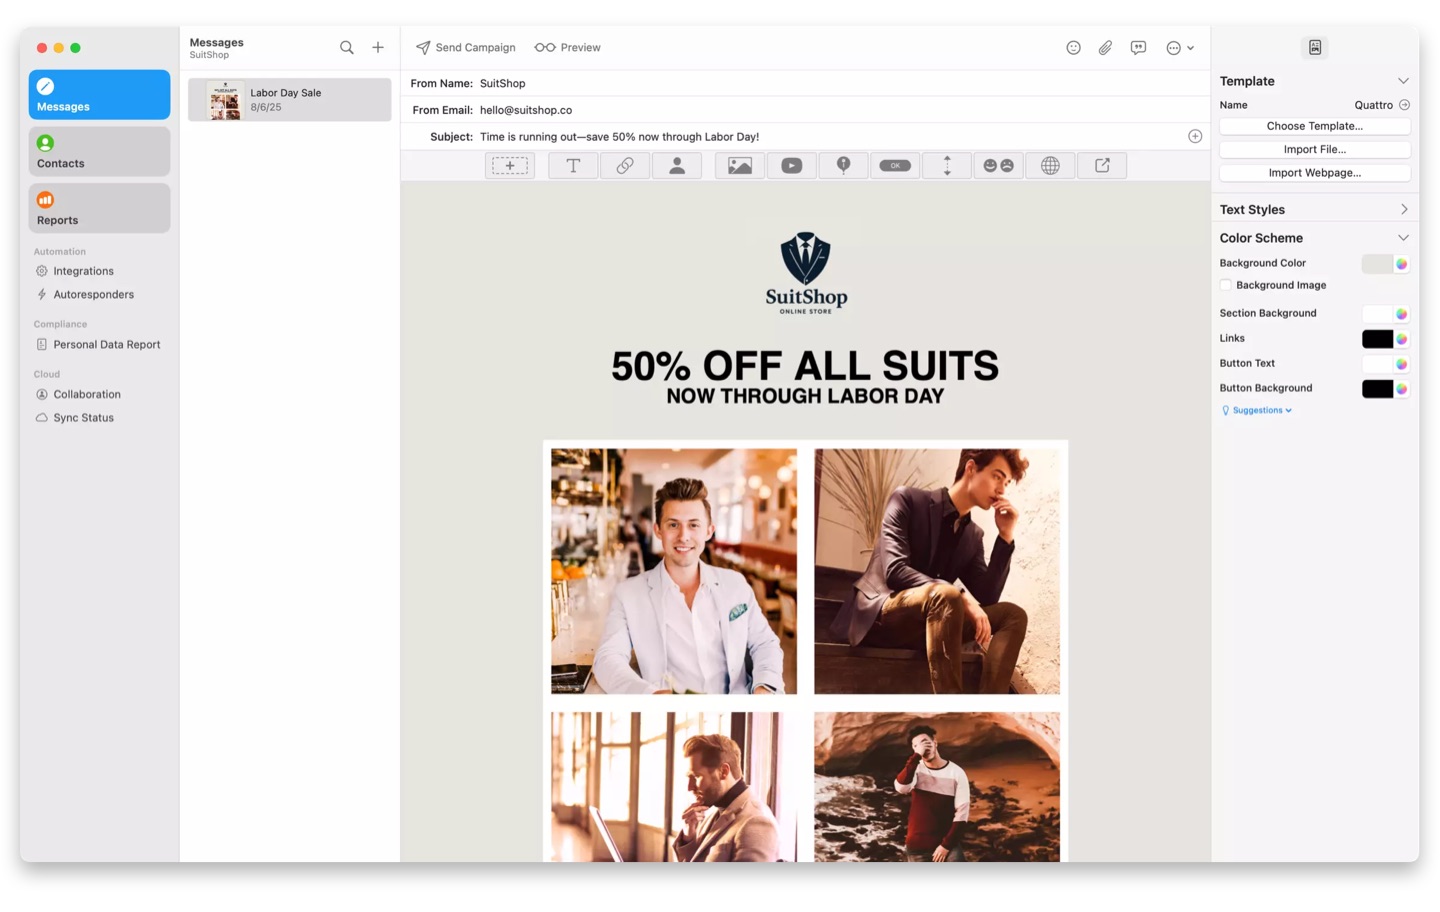
And there’s more: Direct Mail can also import your product photos from Shopify and Squarespace. That makes it incredibly easy to design polished, on-brand emails using the same visuals that already power your store. Whether you’re announcing a new product, featuring seasonal favorites, or sending a simple promotion, your images are right there when you need them.
Reach Leads Faster with Google Contacts
Direct Mail 8.0 also adds support for Google Contacts.
If you use Google Contacts to keep track of leads, prospects, clients, or other business relationships, you can now bring those contacts into Direct Mail with just a few clicks. It’s a handy way to turn your contact list into an outreach list—perfect for newsletters, announcements, follow-ups, or other email campaigns.
Instead of juggling multiple apps and manual exports, you can move from contact management to campaign creation much more smoothly.
A Fresh New Icon for macOS Tahoe
Version 8.0 also includes a refreshed app icon designed to feel right at home on macOS Tahoe.
Inspired by Tahoe’s new Liquid Glass aesthetic, the updated icon feels more vibrant, more modern, and more at home alongside the rest of your Mac. It’s a small detail, but one we think longtime Mac users will appreciate.
Available Now
Direct Mail 8.0 is available now. Update today and start creating smarter, more beautiful email campaigns with your store data, your contacts, and your favorite email marketing app.